本教程将逐步介绍如何使用QML创建完整的应用程序。
QML高级教程1-创建游戏画布和块
Qt组件推荐:
- QtitanRibbon| 下载试用: 遵循Microsoft Ribbon UI Paradigm for Qt技术的Ribbon UI组件,致力于为Windows、Linux和Mac OS X提供功能完整的Ribbon组件。
- QtitanChart | 下载试用 :是一个C ++库,代表一组控件,这些控件使您可以快速地为应用程序提供漂亮而丰富的图表。并且支持所有主要的桌面
创建应用程序屏幕
第一步是在您的应用程序中创建基本的QML项。
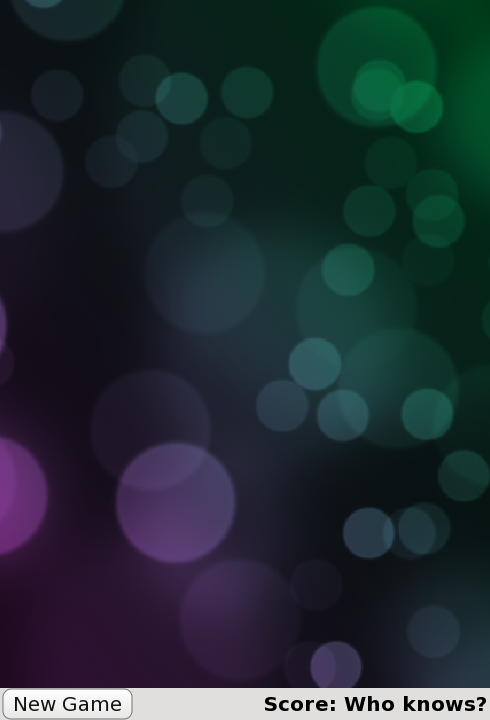
首先,我们使用以下主屏幕创建我们的Same Game应用程序:

这是由主应用程序文件定义的samegame.qml,如下所示:
import QtQuick 2.0Rectangle { id: screen width: 490; height: 720 SystemPalette { id: activePalette } Item { width: parent.width anchors { top: parent.top; bottom: toolBar.top } Image { id: background anchors.fill: parent source: "../shared/pics/background.jpg" fillMode: Image.PreserveAspectCrop } } Rectangle { id: toolBar width: parent.width; height: 30 color: activePalette.window anchors.bottom: screen.bottom Button { anchors { left: parent.left; verticalCenter: parent.verticalCenter } text: "New Game" onClicked: console.log("This doesn't do anything yet...") } Text { id: score anchors { right: parent.right; verticalCenter: parent.verticalCenter } text: "Score: Who knows } }}
这为您提供了一个基本的游戏窗口,其中包括块的主画布,“新游戏”按钮和得分显示。
您在这里可能不认识的一项是SystemPalette项。这提供了对Qt系统选项板的访问,并用于使按钮具有更原始的外观。
请注意为锚Item,Button和Text类型是使用组(点)表示法为可读性设置。
上面代码中的Button项定义在一个单独的组件文件中,名为Button.qml。为了创建一个功能按钮,我们在一个矩形内使用QML类型Text和MouseArea。下面是Button.qml的代码。
import QtQuick 2.0Rectangle { id: container property string text: "Button" signal clicked width: buttonLabel.width + 20; height: buttonLabel.height + 5 border { width: 1; color: Qt.darker(activePalette.button) } antialiasing: true radius: 8 // color the button with a gradient gradient: Gradient { GradientStop { position: 0.0 color: { if (mouseArea.pressed) return activePalette.dark else return activePalette.light } } GradientStop { position: 1.0; color: activePalette.button } } MouseArea { id: mouseArea anchors.fill: parent onClicked: container.clicked(); } Text { id: buttonLabel anchors.centerIn: container color: activePalette.buttonText text: container.text }}
这本质上是定义了一个包含文本并可以被点击的矩形。MouseArea有一个onClicked()处理程序,实现了当该区域被点击时发出容器的clicked()信 。
在同一游戏中,当游戏开始时,屏幕上充满了小块。每个块只是一个包含图像的项目。区块代码在单独的Block.qml文件中定义。
import QtQuick 2.0Item { id: block Image { id: img anchors.fill: parent source: "../shared/pics/redStone.png" }}
目前,块并没有做任何事情,它只是一个图像。随着本教程的进展,我们将为图块添加动画和行为。我们还没有添加任何代码来创建块,我们将在下一章中进行。
我们已经使用anchors.fill: parent将图像设置为其父项的大小。这意味着,当我们在教程的后面动态创建和调整块项的大小时,图像将自动调整为正确的大小。
注意Image类型的源属性的相对路径。这个路径是相对于包含Image类型的文件的位置而言的。另外,您也可以将Image源设置为绝对文件路径或包含图像的URL。
到目前为止,你应该已经熟悉了这些代码。我们刚刚创建了一些基本类型来开始。接下来,我们将在游戏画布中填充一些块。

标签:
声明:本站部分文章及图片源自用户投稿,如本站任何资料有侵权请您尽早请联系jinwei@zod.com.cn进行处理,非常感谢!